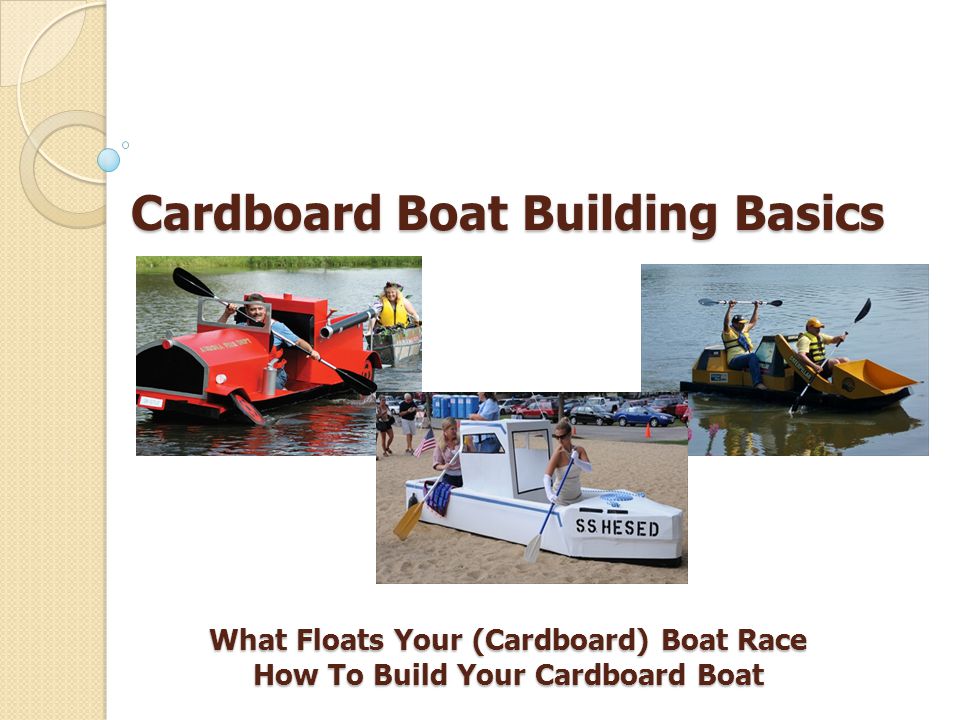
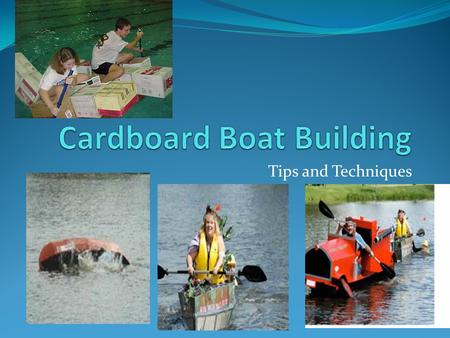
Cardboard Boat Building Basics What Floats Your (Cardboard) Boat Race How To Build Your Cardboard Boat. - ppt video online download
Construction Rules (continued) Decorations are encouraged - as long as they don’t effect structural strength or buoyancy The crew compartment CANNOT be enclosed so as to interfere with escape Every crewmember must wear a personal floatation devise (PDF) and proper footwear If you don’t want your boat to sink, waterproof the entire boat with any paint-able, one-part substance like Varnish or Polyurethane. Decorations and props that are not part of the boat’s hull or structure are allowed as long as they in no way effect the strength or buoyancy of the boat. Costumes for the crew (and all participants) and decorations for the boats are encouraged. Don’t be afraid to use your imagination and decorate your boat. Care should be taken that construction does not include pointed objects and sharp edges that could injure anyone. Where the crew sits CAN NOT BE ENCLOSED (the boat crew must be able to get in and out of the boat easily).
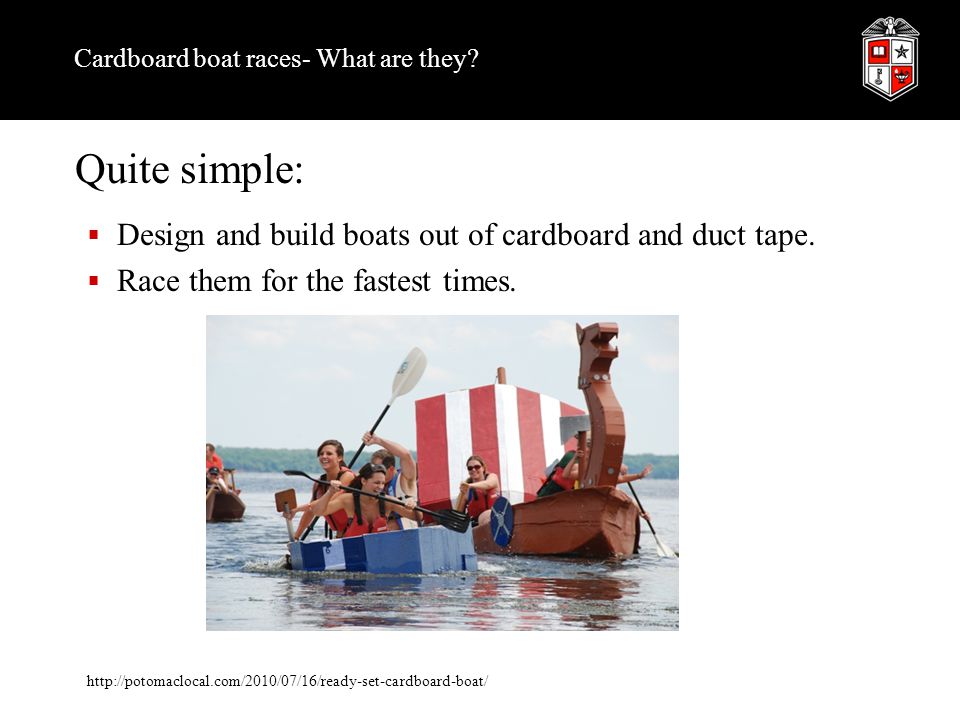
Cardboard Boat Building Basics What Floats Your (Cardboard) Boat Race How To Build Your Cardboard Boat.
Only exceptions are the paddles & decorations. Use Cardboard boxes, blocks , carpet tubes. NO pre-treated cardboard allowed. No Sona-Tubes, waxed or ‘treated’ cardboard. NO wood, plastic or fiberglass. NO caulking compounds or two-part/mixed adhesives. NO wrapping in duct tape, plastic or fiberglass. Duct tape may be used to reinforce seams. All boats must be built of only CARDBOARD. The cardboard may be as thick as you want, but may not be glued or attached to wood, plastic, fiberglass, etc. Cardboard can be found at recycling centers, appliance stores, department stores, discount clubs, electronic stores; such as - dishwasher, stove, or refrigerator boxes, TV, stereo boxes, empty cardboard carpet tubes can be found at carpet and linoleum companies; (except for the cardboard carpet tubes, you must only use corrugated cardboard from these types of boxes) The ENTIRE BOAT must be built of CARDBOARD. The only EXCEPTIONS are OARS and PADDLES, since they are not part of the boat and can be made of any kind of material. Decorations and props that are not part of the boat’s hull or structure are allowed as long as they in no way effect the strength or buoyancy of the boat. SONO-TUBES, or any other type of TREATED CARDBOARD that has been processed in such a way as to make the cardboard waterproof, MAY NOT BE USED. The emphasis is on the fun-filled process of turning discarded cardboard boxes or carpet tubes into floating, race-able boat. NO CAULKING COMPOUND, such as tar, wax or any similar waterproofing material is allowed. Boats can not be wrapped with plastic, tape or any similar product. Ms. Adriatico.
Decorations are encouraged - as long as they don’t effect structural strength or buoyancy. The crew compartment CANNOT be enclosed so as to interfere with escape. Every crewmember must wear a personal floatation devise (PDF) and proper footwear. If you don’t want your boat to sink, waterproof the entire boat with any paint-able, one-part substance like Varnish or Polyurethane. Decorations and props that are not part of the boat’s hull or structure are allowed as long as they in no way effect the strength or buoyancy of the boat. Costumes for the crew (and all participants) and decorations for the boats are encouraged. Don’t be afraid to use your imagination and decorate your boat. Care should be taken that construction does not include pointed objects and sharp edges that could injure anyone. Where the crew sits CAN NOT BE ENCLOSED (the boat crew must be able to get in and out of the boat easily).
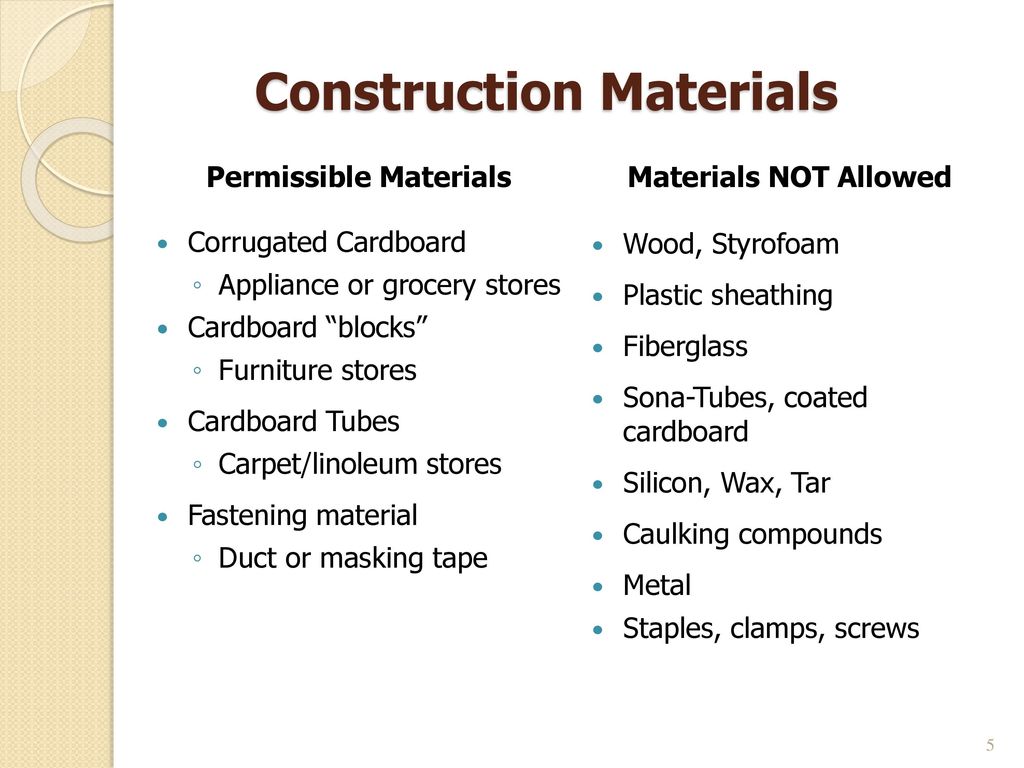
Permissible Materials. Corrugated Cardboard. Appliance or grocery stores. Cardboard blocks Furniture stores. Cardboard Tubes. Carpet/linoleum stores. Fastening material. Duct or masking tape. Materials NOT Allowed. Wood, Styrofoam. Plastic sheathing. Fiberglass. Sona-Tubes, coated cardboard. Silicon, Wax, Tar. Caulking compounds. Metal. Staples, clamps, screws. Judges decide on the. Interpretation of the rules. If there is any doubt about the construction, the judges reserve the right to use a probe, such as an ice pick, to test and verify that only cardboard has been used. In order to make it as clear and fair as possible, the following table is included a guide. The goal is to encourage all participants to have fun and prove to themselves and others that a cardboard boat constructed of ‘basic cardboard’ will actually float and can be raced. By encouraging the use of inexpensive materials that can be found, donated, or bought cheaply, more people (especially kids) will be able to participate on an equal basis. We also want to protect the Lake and avoid polluting or trashing the water or shoreline. We do not want to allow boats to race that would appear to have an unfair advantage or cause damage to the environment in any way. TOOLS: jig(Saber) saw for cutting tubes, utility/wall-board knife to cut boxes. caulking gun for liquid nails, tape measure, square, brushes
Cardboard. Block. (2-3 thick) Carpet Tube. (about 4 ½ dia.) Collecting the cardboard to build the boat takes the mostly time, space, and connections. Most stores or businesses are more than happy to donate their discarded cardboard to anyone crazy enough trying to build a cardboard boat. Grocery stores and discount stores will have cardboard boxes in various shapes and sizes. Furniture or appliance stores will have larger sheets of cardboard and perhaps various sturdy cardboard blocks or cardboard used in the bottom of large appliance containers. Carpet and linoleum dealers are a great source of the sturdy cardboard tubes that are well-suited for building the cardboard boat’s supporting structure and framework. Even cardboard poster or mailing tubes can be used as supports in a cardboard boat frame. Cardboard collection can be made easier if members of the cardboard boat team can get cardboard from where they work or from stores where they regularly do business. VISUAL-AIDS: illegal( ) - Sona-Tube, coated cardboard carpet tube, cardboard box (side), cardboard block. Cardboard Box - cut open.
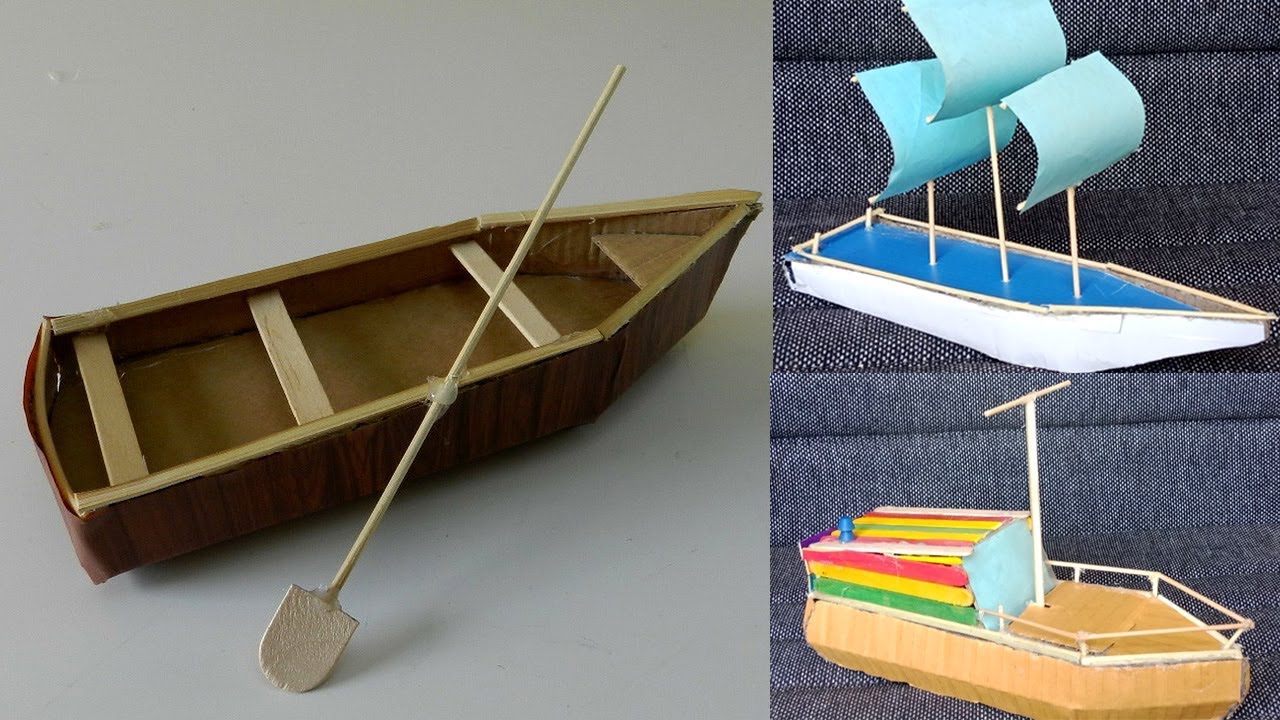
Big enough to hold crew, small enough to carry. Wider is better, but still be able to paddle. No surfboard style designs are allowed. Consider total weight of all materials when wet. EVERYTHING must be removed from the lake. Boat decorations and crew costumes are encouraged - use your imagination you will be awarded for your creativity! SURFBOARD style designs are NOT ALLOWED. Consider staying dry as part of the challenge. VISUAL-AID: Hull Models - Stable, wide - slanted bow design. - Narrow, tall - pointed bow design (would be stable if not taller than wide) Costumes - - shower caps & blowing bubbles. - Cleopatra’s roman togas. - sailor’s caps, viking warrior hats. - pirate. Decorations - - plastic ships wheels,
How much will you sink - Displacement. Displaced Volume of Water (V) V = L x W x H. Boat. Displaced. Water. Water. Weight of Water = 62.4 pounds/cubic-foot. Water Displaced(ft3) = Weight-of-boat-&-people-lbs lbs/ft3-H20. Depth(ft) boat sinks. You don’t want to get too serious, but there are a few high school science facts that can be useful as you set about to design and build a cardboard boat. Finding your old textbook isn’t necessary. A look at the encyclopedias in the reference section of your local library is fine. The first thing that’s useful to remember is Archimede’s Principle, which states that a body floating in a fluid displaces it’s own weight of fluid . Applying this to our cardboard boats, the bigger and heavier your boat and crew are, the deeper you’ll sit in the water. Placing the boat in the tank displaces a volume of water, equal in weight to the weight of the boat. This means that in order to stay afloat and move your cardboard boat through the water, you: must build the sides of the boat high enough, depending on how low the boat and crew will sink in the water; the heavier the boat and crew, the lower it will sit in the water according to the equal weight of water. might consider a wider, longer, or flatter hull as the expected weight of your cardboard boat increases; that way you can keep the sides of the boat lower and let it move through the water more easily by distributing the weight over a larger surface area. might consider building the boat as light as possible (yet still structurally strong enough), or have a smaller crew. If you estimate the weight of your boat and its crew, you can get a rough idea of how much of the boat will be below the waterline. That’s because the volume of the part of the boat that is below the waterline equals the amount of water (in weight) that will be displaced. Example: Box boat, 3 ft X 6 ft, 1ft tall (high) Boat volume = 3’ X 6’ X 1’ = 18 ft3 Boat displacement = 18 ft3 X 62.4 lbs/ft3 = lbs Which equates to 93.6 lbs per inch of boat height.
Wider is Better - Center of Buoyancy. Center-line. Center-line. Center-of-gravity. Center-of-gravity. Center-of-buoyancy. Center-of-buoyancy. A cardboard boat should be designed to be stable in the water and not roll or flip over easily. The stability of a cardboard boat depends on its shape, which determines the cardboard boat’s center of buoyancy. Buoyancy is a force that acts upward, opposite of the gravitational force of the floating object. It’s equal in magnitude to the weight of the object (or volume of water displaced) and it’s line of action is through the center of the volume that is causing the water displacement. The overall center of gravity of the boat should be lower than it’s center of buoyancy, which tends to keep the boat upright. Center-of-Gravity (CG) - Center of the overall volume of the boat, along centerline - a fixed point. Center-of-Buoyancy (CB) - Center of that volume of the boat is below the waterline, moves as boat rolls from side to side) Righting -Arm & Righting-Moment (positive - boat returns to upright, and level position in the water) In plain English that means that if the boat doesn’t lean too far, the righting arm stays long enough and the position of the center of bouyancy is such that the boat will right itself back to a level position so the CG and CB both line on the center line The higher the center of gravity is above the center of buoyancy, the larger the righting moment, or the force for the boat to right itself, will be. VISUAL-AID: wide & narrow hull models Righting-Arm. (Moment) POSITIVE. Righting-Arm. (Moment) NEGATIVE.
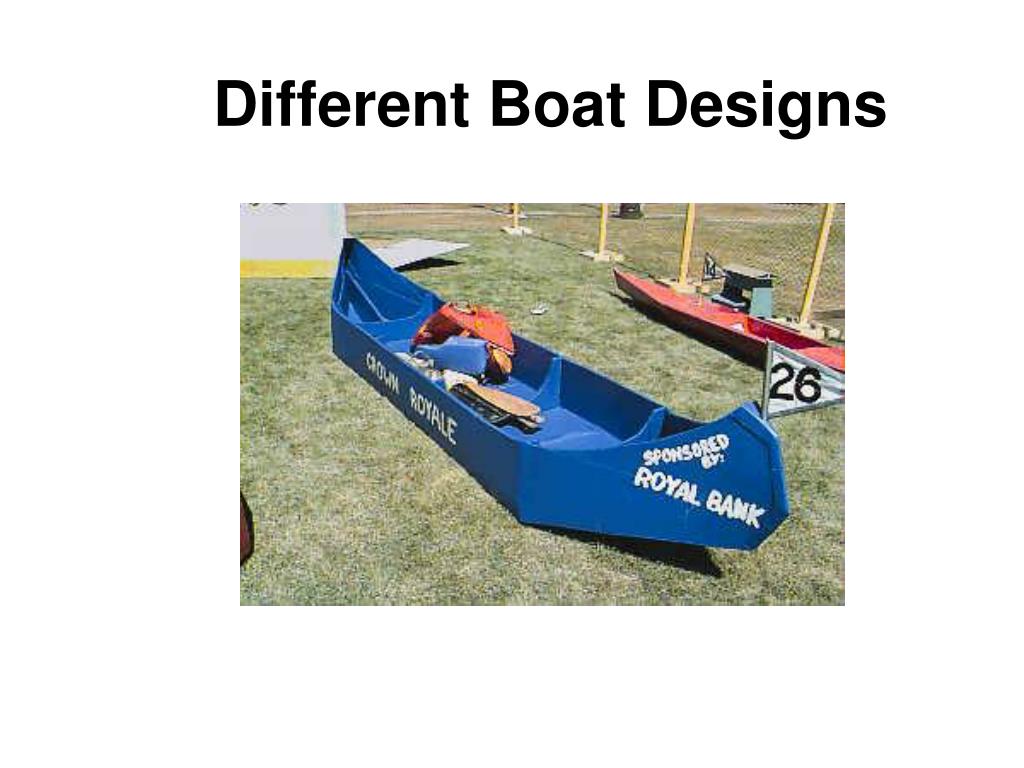
Movement Through the Water. Simple Box. V-Shaped. Bow. Slanted. Box. You want to design to stay upright, and you might give some thought to how the will move through the water as it’s being paddled. These type of cardboard boats will probably not get to a speed where they can ride up on their own bow wave and start planing. Therefore we’re only concerned with the shape of the hull of the boat in terms of its displacement and movement through the water. When a boat moves through the water, it pushes some water aside. The slanted bow will probably be the easiest to build and will perform well. As it’s paddled, the front of the boat will ride up on the water a little so that the paddlers don’t have to push the displaced water aside. The V-shaped bow on a cardboard boat will cut through the water nicely but may be a little harder to construct. BUT a FULL-V-HULL will be very tipsy and will definitely be hard to keep upright. Out-Rigger & Pontoon designs may reduce that amount of cardboard that sits in the water - the Out-Rigger is more complicated to build - but may help with a stability problem if the boat design is narrow. Pontoon. Design. Raft Design. Outrigger. Design.
Set the Design Goal: Fun, Speed and Appearance. Sketch out your design. build a scale model from manila paper: estimate materials or plan how to use what you have. plan out what construction techniques will be used. 1’x1’x3’ box: will float 187 lbs. if it’ll hold you, it’s big enough to float. Flat bottom, sit-to-paddle & canoe styles - are the best/easiest. Rudders help keep you straight but make turning difficult and adds complexity to your design. If your boat is big enough to hold you, it’ll be big enough to keep you afloat. Flat bottoms are best. - V-shape bottoms tip over right away. Kneeling of standing - gives you a high center of gravity and you’ll probably tip over right away. Keep a low center of gravity to keep it the most stable, - plan on sitting on the bottom of the boat and paddling.
Long boats go fast - but are harder to turn. Short boats (<8’) - are difficult to keep straight. Best Length: 8-12 feet. Best Height: 18 inches. allows room to sit/kneel & still paddle over the edge. Best Width: (max) for 1 person. 48 wide for 2 people side by side. Kneeling is a power position but sitting is more comfortable.
Cover all edges of cardboard - acts like siphon. Cardboard Tubes make great frames. Cut for joining & bending. Fasten tubes together. Cardboard Hull. 1-2 layers, fasten & cover the seams. With 2 layers, overlap the seams. Decorate, paint & varnish. Reinforce the area where you sit, kneel or stand. VISUAL AIDES: overlapping cardboard - cardboard edge
Carpenter’s glue and liquid nails work well. hot-melt glues will melt in the heat and sun. Duct tape only non-painted surfaces (tubes or frame that will be covered) Duct tape shrinks when painted. Duct tape should be covered with masking tape if you need to paint it. Clear tape melts when painted. Masking tape works well on glued edges & seams. Kraft paper with spray adhesive may also be used. Masking tape - reinforced paper tape One tip that someone found on-line. - suggests painting all cardboard surfaces before gluing. (that would take a real well-thought out design) and suggested that using a paint-roller, which would be faster than brushes. (that would take flat, not irregular/rounded surfaces)
CONNECTING. TUBES. Solid Tube. Frame. Center/Cross. Beam. Frame. Cardboard. Wrapper for Tubes. End-to-End. Cardboard. Wrapper for Tubes. At Right-Angles. FRAMES. VISUAL-AIDS: cardboard tube, cardboard, end-to-end joint with wrap. tube T-joint & cutting template, T-joint-wrap. right-angle joint & wrap. If you have plenty of cardboard tubes, then one option is to build the entire bottom of the boat with tubes lined up, side-by-side. Using lots of tubes, side by side, the full width of the boat will make it really strong - and also pretty heavy. It doesn’t have to be that strong and you can save some weight by using a center-beam, cross-beams approach . Once you have the tubes cut to size and have them braced to be attached at whatever angle you want - you can use liquid nails and duct tape to fasten one tube to another. Wrapping the duct tape around the joint in a figure-8 fashion should hold it in place while the liquid nail adhesive dries. Two tubes put together don’t have much contact with each other for gluing with liquid nails. So I use a cardboard wrapper to surround, cover and re-enforce the joints, then tape and glue the wrapper securely onto the tubes. I pre-curled strips of cardboard that I wanted to use as wrappers by bending them over a piece of scrap cardboard tube first. Cutting the joint covers to wrap right-angle joints is difficult to describe, but cutting, folding, and overlapping the wrappers around the tubes becomes easier with a little practice.
FRAME ANGLES. V-Shaped Cuts. VISUAL-AIDS: Tube-bending - joint, template & wrap. - tube-joint template If the bow of your cardboard boat is going to be pointed or curved, you can try to bend the tubes or cut them. They’re pretty thick to try to bend and I think that cutting slices out of a tube and re-gluing the joints keeps it stronger. Make a V-shaped cut for each bend you want in the tube. Then bend the tube at the cut and glue, tape and wrap that just as if 2 tubes were being joined at that spot. When fastening two cardboard tubes at right angles to each other, a flat end does not come against the curved side of a tube very well. You should make a curved cut in the end of tubes attaching at right angles in order to make a nice joint with the frames. Rather than do each cut by trial and error, I made up a tube template using a scrap piece from a cardboard box. I could then draw the semi-circle cuts that each vertical tube would need by tracing along the edges of my template. It was slightly larger than the 4.5 tubes of the frames, so I could slide it over the carpet tubes to be cut and trace the cuts to be made. TOOLS: jig/saber saw, hack-saw. TUBE CUTTING. TEMPLATE. Multiple Cuts. for Sharper Angles.
VISUAL-AID - covering model, tape-covered cardboard edge. The framework of tubes or beams can be covered with cut-up cardboard boxes. In order to attach the cut-up boxes to the frame, you can apply liquid nail adhesive to those sections of the tubes that the sheets of cardboard will touch. Minimizing the number of seams and using the biggest sheets of cardboard available is the best approach. As you apply each sheet of cardboard, overlapping the sheets by 4 -6 will add to the strength and water resistance of the seams. Spread some liquid nail adhesive where they’ll overlap and on the tubes the added sheet will touch, then use masking tape to hold it in place until the liquid nails dries. Be sure that all seams are well covered with masking tape. If there are any tears or rips in any of the cardboard that will come in contact with the water, cover the rip with masking tape to keep water from seeping into the middle layers of the cardboard. For covering the corners, or curves, you may have to bend and overlap the cardboard sheet onto itself. It’s better to fold the sheet over and cover the fold with masking tape then make any cuts and introduce another seam. Spread some liquid nail adhesive on the inside of the fold to hold the fold in place, then masking tape the joint to give the corner or bend a smooth, paint-able surface. Depending on how big your boat is, how you built the frame, and how much weight you expect to carry, you should consider using 2+ layers of cardboard on the bottom and lower part of the cardboard boat’s sides. 3 layers is plenty strong for the bottom of a boat. Whenever you put one layer of cardboard over another, you should lay the cardboard in such a way that the corrugation of one layer goes at right angles to the corrugation of the layer to be covered (like crossing grains in sheets of wood). FOLD & OVERLAP. CARDBOARD. AROUND CORNERS.
Crease/Score a line. for a nice. STRAIGHT. FOLD. To get straight folds, make a straight crease in the cardboard before folding it. Any rounded tool (like the handle of a wrench) pressed against the cardboard and dragged along a rule will make a good straight crease to fold along.
Multiple cardboard layers. glued together on the sides. strengthen the hull. Multiple trapezoid-shaped pieces. glued together to form a. support block A sheet of cardboard. could be folded & glued together to. form tubes/beams. VISUAL-AIDS: no-tube, laminated hull & cross-brace model. As you’re working on your cardboard boat, be careful not to bend or step on it too much. If you can walk all over it without hurting, that’s good - but you probably didn’t have to build it that strong, or heavy. If for some reason you have trouble getting enough cardboard tubes that are strong enough, you can consider using an another technique. If you have the time and lots of cardboard from regular cardboard boxes, you can fold long pieces of cardboard into beams or. - make up some multi-layer, custom-shaped blocks . Making cut-outs in the blocks will give a way to integrate the blocks and beams in a way the gives you a strong framework that can be covered. Constructing the framework from the tubes will be the easiest and least time consuming though. Multiple layers on the sides will strengthen the hull
Cardboard Boat Building Basics What Floats Your (Cardboard) Boat Race How To Build Your Cardboard Boat. - ppt video online download
Cardboard Boat Building Basics What Floats Your (Cardboard) Boat Race How To Build Your Cardboard Boat. - ppt download
Cardboard Boat Races 2014 TTU - LISD Middle School STEM Challenge - ppt video online download
Whatever Floats Your Boat! - Maker Challenge - TeachEngineering

Mr.Catton's Grade 7/8 Blog: Cardboard Boat Races Cardboard boat, Cardboard box boats, Boat crafts

How to Make a Cardboard boat - That Wins!!
Cardboard Boat Building Basics What Floats Your (Cardboard) Boat

Cardboard Boat Building Basics What Floats Your (Cardboard) Boat Race How To Build Your Cardboard Boat. - ppt download

How to Build a Cardboard Boat: Easy and Simple Design